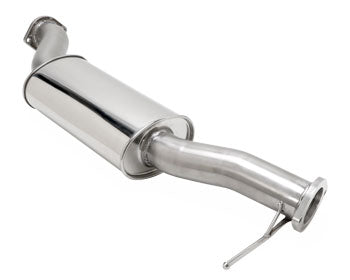
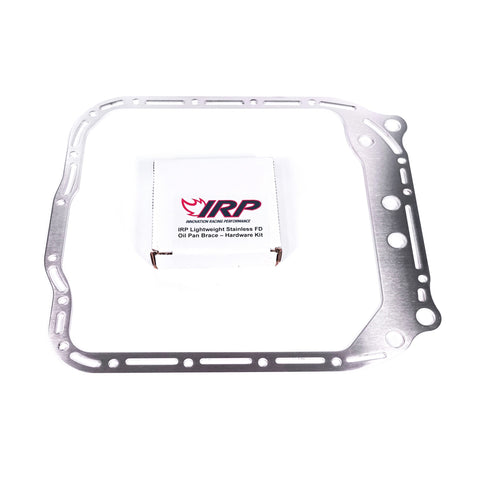
IRP Lightweight Stainless FD Oil Pan Brace

** Currently Backordered**
Here is a fact; ALL FD oil pans will eventually leak when sealed according to Mazda’s procedure. The issues lie in 2 design flaws:
- The oil pan is constructed of stamped steel that is far too thin, especially at the flange.
- The motor mounts bolt through the oil pan. As the motor torques, the oil pan flange deflects, and eventually begins to leak.
Please note that we currently have low stock of these and may take several weeks to manufacture more.
Directions
Follow the factory service manual for removal/replacement of the oil pan and follow all safety precautions.
When sealing the oil pan it is critical that all old gasket material and sealant is removed from the mating surfaces.
We recommend using a new oil pan (about $150-160 from Mazda). Always test fit the oil pan and brace, especially when re-using your pan. They bend and sometimes must be straightened prior to installation.
All bolt holes and threads should be cleaned of old sealant and chased. Buildup of old sealant can cause stripping of threads or cracking of housings.
We recommend Locktite 5900 sealant. It is the oem specification sealant for Porsche and other high end cars.
Surfaces must be oil-free and completely dry. We suggest wiping down with acetone after cleaning.
Apply a moderate bead around the entire mating surface and smooth over with a gloved finger or putty knife.
Install 2 studs at opposite corners of the motor. Lay down the oil pan and brace.
Install the remaining studs/nuts and tighten all hardware hand tight in a criss-cross pattern until the sealant just begins to squeeze out.
Remove excess sealant from the motor mount bolt holes with a pick or other tool.
Allow 10-15 minutes for the sealant to become tacky. This will vary depending on weather.
Tighten the nuts to factory torque specifications in a criss-cross pattern.
Ensure there is no silicone in the motor mount bolt holes
Install the motor mounts and bolts with red locktite and tighten to factory torque specifications.
Go around again and re-torque all the bolts.
The motor must be left without oil for 24 hours to allow the sealant to completely set.